
The One Thing You Need to Know to Upgrade Your Smartphone Photography

Although they’re called smartphones, there’s a high likelihood that most of your phone usage consists of catching up with family and friends, reading the news, or checking the weather forecast. Not only has pocket-sized technology mostly eliminated the need for a GPS and laptop, but your phone can also potentially replace a traditional camera.
Most professionals have a DSLR or film camera, but for the casual person, a smartphone camera is perfect — whether you use it for travel, capturing adorable pet antics, or photographing your Airbnb listing. However, when you’re trying to take quality photos, there’s one component you may be missing: good lighting. Understanding light is essential to quality photos: Here’s some lighting advice from six photographers on how to elevate your smartphone photography.
Use natural light.
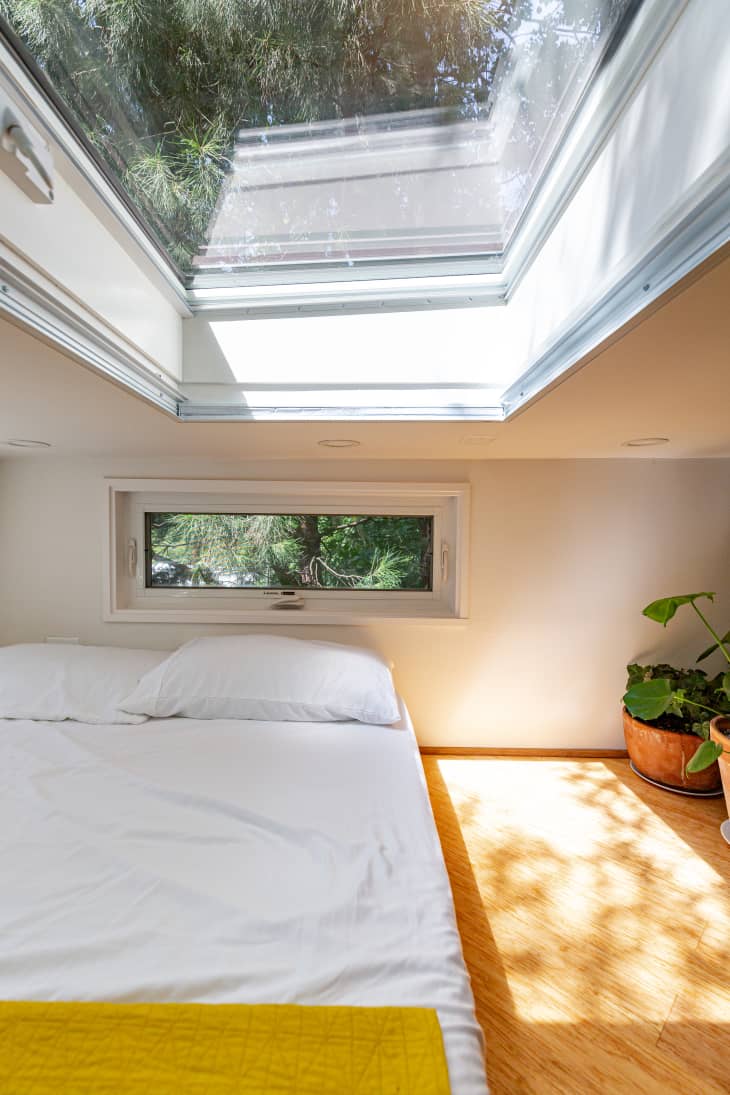
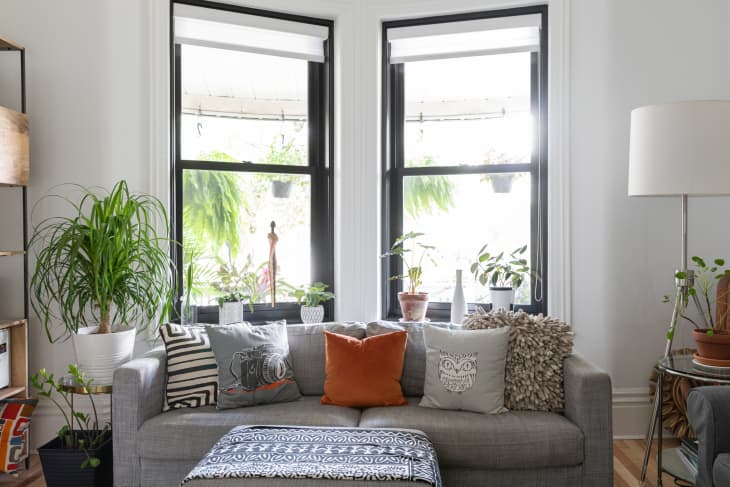
Light that comes from the sun, aka natural light, is the best source when seeking realistic images. “Indirect natural light is always the best light,” advises wedding photographer Emma Thurgood. Sunlight provides a whiter light source, which helps to avoid overly warm, yellow tones in your images. Whether indoors or out, look for natural light sources, which can be as simple as going toward a window. “You can find this by leaving the blinds and curtains open in a room or in large shady areas outside,” adds Thurgood. Photography Lindley Rust believes you should avoid unnatural light, such as lamps. “Indoor lighting always makes a photo look amateur,” she says. “Turn off all the indoor lighting. Even if it’s a gloomy day, your photo will look far more professional.”
Avoid harsh sun.
Don’t immediately head outside in bright conditions in your search for natural light, as this can lead to overexposed photos and squinted eyes. Instead, photographer Charles Moll says to seek shade when it’s sunny. “When photographing people during the day, look for shade or have the light behind them,” he recommends. “This eliminates harsh shadows on their face.”
Kathryn Cooper, a professional travel photographer, agrees with Moll while adding that time is also a factor. “At all costs, avoid photographing in the heat of the day — generally noon to 4 p.m. — because the sun is at its highest and therefore creates the most shadows,” she says. Intense lighting can also cause blown-out areas, called hotspots, where parts of the image are whited out without any details.
However, Cooper notes that sharp contrast and shadows are beneficial if you want a bit of drama in your photos. “If you have direct, harsh light, go for a moody setting, darken your viewfinder, and look at the shadows,” she suggests. “Silhouettes and architectural shadows can look amazing!” Also, try playing around with the focus by tapping your phone screen, which will alter how light appears in direct sunlight.
Surprisingly, a soft cloud cover is considered the ideal lighting condition as clouds softly filter rays. “If you have a cloudy day, that means the light is evenly dispersed, providing flattering light instead of harsh shadows under your eyes, the couch, or that potted plant,” says Cooper. In this case, facing the sun’s direction can enhance the resulting image. “When it’s overcast, you want to try and figure out where the sun is behind the clouds and have your subject face that direction to avoid heavy shadows in unflattering areas — like around the eyes,” advises Thurgood.
Redirect your source.
Although you can’t move the sun, you can redirect the light using a reflective object. Tim Daniels photographs covers for books and suggests 45-degree angles are most flattering, especially when taking photos of people. “Natural lighting from about a 45-degree angle pointing towards your subject and level with your subject’s eyes is a go-to starting point,” he recommends.
The direction of your light source is also essential to keep in mind when trying to deflect light via a reflective surface. “Reflectors are a huge bonus in bad light,” Daniels says. “Even just a sheet of aluminum foil opposite your light source will reflect a good amount of fill light onto your subject and prevent strong shadows from forming.” In addition, angling the beam so it’s eye-level with your subject can eliminate unflattering shadows from facial features, such as the nose and eyebrows.
Edit your photos with an app.
Sometimes you don’t have time to plan your setup and choose the lighting, so when all else fails, post-productions apps help to correct lighting issues with spur-of-the-moment photos. Although apps take a bit of practice, there are intuitive ones to enhance your images. “Correcting badly lit photos is very easy with Snapseed, a free photo editing app from Google,” advises Daniels. Simply upload your photo to the app, use filters, and balance the tone.
You can also try more advanced techniques, such as painting directional lighting and modifying the exposure in specific parts of your picture. Photographer Margaret Pattillo points out that the basic functions of your phone can adjust the image. “If the light is bad, you can correct the photo in any basic phone app by bringing up the shadows, bringing down the highlights, and correcting the contrast,” she says.
Practice makes better.
Your photos may never be perfect or have the same look as the pros, but Daniels advises that the more you practice in various situations, the better your images will appear. “Keep moving your phone and experimenting with new angles,” he recommends, suggesting standing on a chair or getting down to ground level to test out the light. He also notes that smartphones provide immediate results, which speeds up learning: “With the instant feedback you get from phone photography, you’ll quickly figure out how to take fantastic pictures.”