
Level up Your DIY Game in 2022 with These 6 Achievable Home Projects

Was your 2021 filled with DIYs? Maybe you were inspired by an IKEA hack or another project you saw on Apartment Therapy, or all the extra time at home last year made you look for ways to make small improvements around the house — or you just wanted to try something new.
Whether you started from zero or with a little DIY know-how under your belt, you might be looking to take the next step in your home projects in 2022. The great thing about DIY is that you learn so much from each project. All that experience (and all those tools and supplies!) accumulates, making room for bigger and more challenging DIYs.
If you’re ready to level up your DIY game in 2022, you’re in the right spot. Below, a few ideas to take the DIY skills you learned last year and apply them to new projects. Read on to find your next adventure.
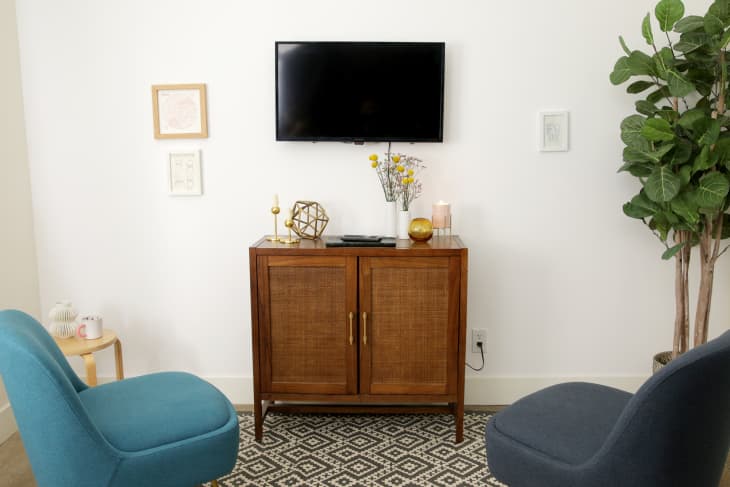
Last year: You hung your gallery wall.
This year: Hang your TV.
For your gallery wall, you mastered the ability to align and level your art and possibly broke out the stud finder to hang heavier pieces. You’ll need both of those skills to securely position a mount so you can hang your TV on the wall.
Start by finding the desired position for your TV that has two wall studs behind the location. Mark the drill holes for the mounting wall plate on the wall. Check that your holes are level.
Drill pilot holes for the bolts included with your wall mount. Position the mount and attach with the included bolts.
Attach the mounting brackets to the back of your TV, attach the mounting brackets to the wall mount to secure your TV on the wall.
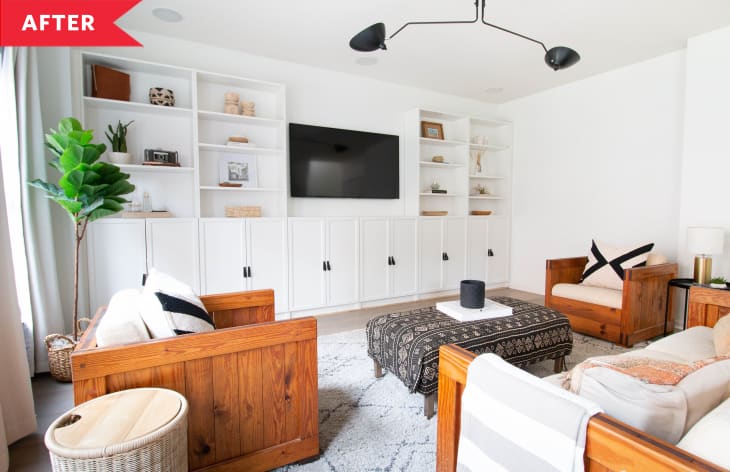
Last year: You built IKEA furniture.
This year: Create faux built-ins.
Going from building BILLY bookcases to creating faux built-ins is easy. Think of it as the steps they forgot to include at the back of the instruction manual — all you need are a few extra pieces and some beginner friendly supplies.
Start with your assembled pieces and attach trim along any edges where two pieces butt up against each other. Install baseboards along the bottom and crown moulding along the top edge and the ceiling. To really go the extra step, don’t forget to caulk the seams!
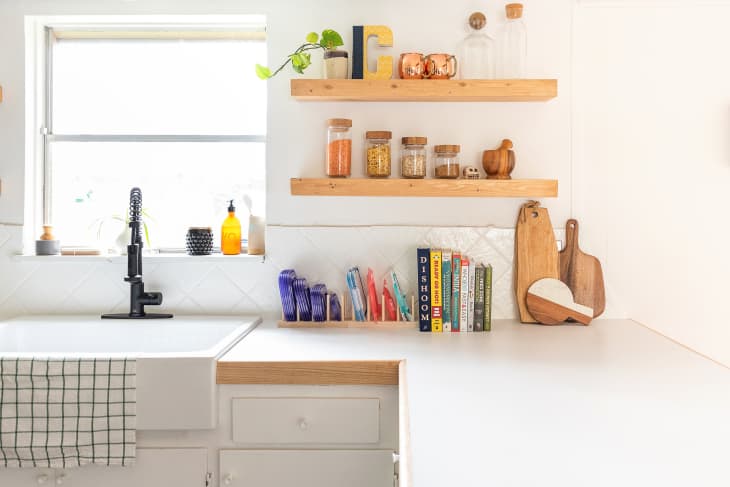
Last year: You swapped cabinet hardware.
This year: Swap the kitchen faucet.
Now that your cabinets have fresh hardware, it’s time to upgrade your kitchen sink to complete the makeover. Both jobs are as straightforward as using the right tool for the right tightening job. For swapping your cabinet hardware, you just needed a screwdriver or drill. To swap your faucet, you’ll need a basic wrench and basin wrench.
Locate your water valve under the sink and turn off. Flip your faucet to “on” to drain any water remaining in the lines.
Place a bucket underneath the supply lines and detach them from the valves with a wrench. Remove the supply lines from the old faucet with a basin wrench. Remove any mounting hardware, then remove the old faucet. Clean the surrounding area to prepare for the new faucet.
Thread the new faucet supply lines through the mounting holes and use the included mounting hardware to secure the faucet. Connect the supply lines to the water valves. Turn the valves back on and run for a few minutes to test and flush the lines.
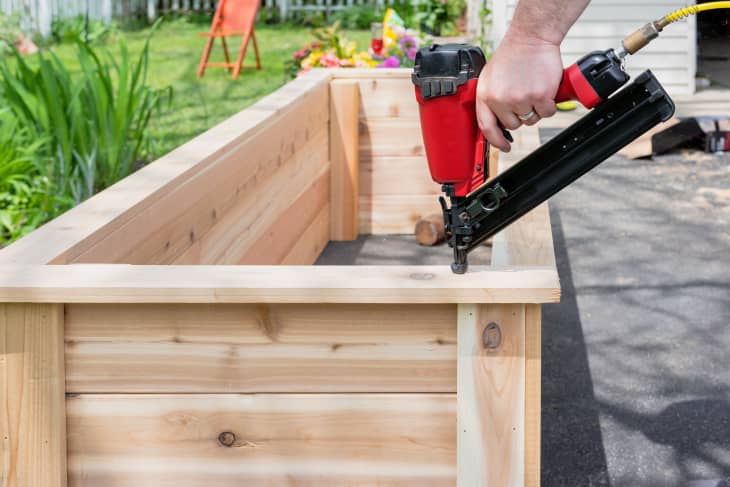
Last year: You DIYed shelves.
This year: Create a raised planter box.
You get a surge of pride every time you see your DIY shelves. That was your first project where you had to cut and finish wood. This year you want to get into gardening while flexing your shelf building skills. Good news: A DIY planter box is constructed in a similar way as your favorite shelves.
Look for pressure-treated or composite boards, cedar, white oak, or redwood to get the most life out of your planter box. These types of woods are water and insect resistant. You’ll need to stain and seal your piece at the end if you can’t find these.
Get your DIY started by cutting your wood to size. Your cuts will depend on what final size you want to make your planter, but essentially you’ll need:
- four 2×2 posts in your desired height, to act as corner braces
- 1×4 boards to wrap around the posts; you’ll cut half of these to match the desired length of your planter, and half to match the desired width
- 1×4 boards to serve as the base of your planter
- chicken wire
- landscaping fabric
Create the sides of your planter by attaching the 1×4 boards to the outside of the posts, starting at the very top. Make sure the edges of the boards are flush with the edges of the posts. Make sure to use long, non-rusting screws for this job; you might need to drill pilot holes. (Here’s a great video demonstrating the process.)
Once you have created a rectangular frame on legs, you’ll need to add boards to serve as the base of the planter. Screw these 1x4s — cut to the width of your planter — into the bottom edges of the frame, and make sure that they’re no more than a few inches apart.
Line the inside with chicken wire, followed by landscaping fabric, and add wheels to the bottoms of the legs if desired. Then, fill with potting soil and your favorite edible or ornamental plants.
Last year: You made no-sew pillow covers.
This year: Reupholster a chair.
Swapping out your throw pillow covers was a quick way to refresh your living room. Even quicker yet with your no-sew technique. Now you’re looking for other rooms that could use an update and spot your cushioned dining chairs begging for new upholstery. Just like you measured and cut your pillow cover fabric using an existing cushion as a template, so to will you for this DIY. And don’t worry, you still won’t need a sewing machine to reupholster a dining chair!
Carefully remove the old fabric and black dust cloth lining — you’ll want to hold on to the old fabric as a template for your new upholstery. Replace the old foam, batting, or webbing if needed.
Pin the original fabric on the backside of the new fabric. Trace around the old piece, giving yourself a 2″ to 3” allowance on all sides. Cut out.
Center the new fabric over the chair. Pull the fabric taut and place one staple in the center of the backside of the seat. Make your way around the seat, using as many staples as necessary to keep the fabric in place. When you get to a corner, tuck the fabric that lines up with the center of the corner under, then fold over each side. Trim any excess fabric. Reattach the cushion to the chair frame.